Includes affiliate links that help offset our expenses at no cost to you.
A Pulk sled is considered by many to be a superior way to haul gear in arctic or winter conditions. Rigging a pulk the right way can make the difference between a great winter experience or a disappointment.
There are plenty of designs readily available for creating a pulk, from the inexpensive (and sometimes questionable design) to a stout, lightweight sled with a ball and socket attachment. Our purpose here is not to explore building a pulk, rather how to rig and load the sled, as well as important modifications for the adventurer who uses the pulk for more extreme environments.
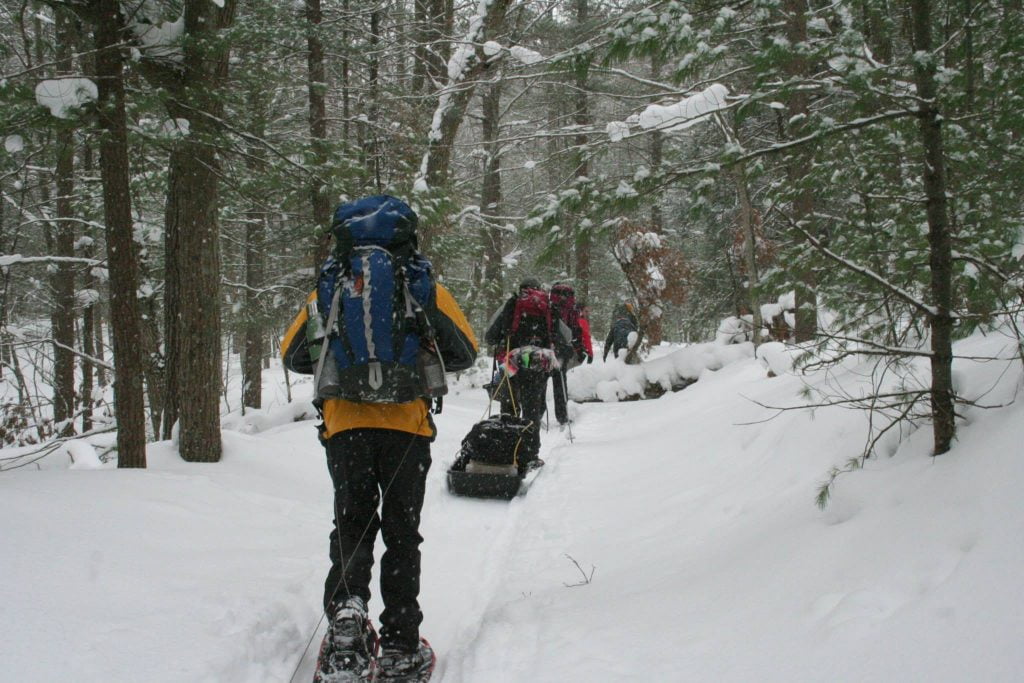
A pulk is a time honored, rugged and dependable system. By using flexible poles (with varying degrees of rigidity), the sled will track behind the user without requiring attention or the need to “hold the haul line”. They are great for winter camping as you can pull, across the snow, a heavy load of gear with relative ease. They also allow you to pull the extra gear for comfortable winter camping. You can haul many/heavy items that you wouldn’t on your back. . . in a pulk, like winter tents, heating stoves, extra clothing, shovel, extra fuel, etc.
Inevitably, in our modern outdoor industry, there are many “pulks are a pain” posts. Because today’s “educational” emphasis is placed squarely on learning “gear choices” (instead of skill, knowledge and technique), this is gonna happen. The reason for these dramatic and painful experiences is normally because of poor design, improper packing and loading, or general inexperience. We hope to address some of that here.
Sometimes, a pulk isn’t as useful as a pack in the winter.
- In areas with many stream crossing that aren’t fully frozen.
- On rocky, exposed ridge lines.
- Warm conditions causing long stretches of snow-less ground.
- When hiking, skiing or snowshoeing thick bush or tornado damaged wilderness.
- Steep side hills – unless you have fins.
- Steep climbs with no skins on skis, a heavy load and no uphill braking system.
- When you are travelling down steep inclines with a heavy load without a braking system.
We hope to address ways to overcome some of these. Under more extreme circumstances, a pulk can be difficult without modifications, proper packing and proper rigging. Most standard designs work good in flat to slightly varied terrain. But to go farther, learning certain techniques and further design considerations are warranted. With that, we will endeavor to explore more options for the winter explorer.
Rigging a Pulk
There are many ways to rig a pulk using poles. We will focus on three ways. Rope & Pole, Rigid Eye Pole, the Rigid Ball Joint Pole.
For all rigging methods, the techniques and knowledge are generally the same. We will cover those first.
- The majority of the sled weight should be attached at your hips. Resist the temptation to attached the poles to your backpack or bear weight with your shoulders.
- Allow the attachment points on the sled attachment to self equalize for uneven terrain.
- Your attachment system should be redundant to avoid failure and sled loss.
- No matter what, understand that pulks can sometimes be unwieldy even if you have experience. Despite the frustration, you will get better at it. Be patient and be persistent.
The Harness Attachment
No matter what type of system you use, it is important to keep it tight. A rope and pole system is especially susceptible to free play. Work hard to keep slack to a minimum. Slacked pole systems are more difficult to control, especially on side hills, down hills and bush terrain. Rigid poles and tight pole attachments should be your goal.

We have found that the best way to attach a pulk to a harness is to use the carabiner as a block or stop for a webbing loop. This is easy to undo, has less free play and keeps the attachment closer to your body for better control.

Earlier, we mentioned that your attachment points should be “redundant” to prevent sled loss or complete attachment failure. I’m sure you are asking, “What does that even mean?” Well, let us show you using the above example.

You may be thinking, “C’mon. . . what is the likelihood that the sewing will fail?” Agreed. Not likely. But age, brush and sunlight can do nasty things to gear. The real point is that being redundant helps to eliminate “yet another thing that can go wrong”. When you are in the wilderness, in a snow storm – that will most likely make a difference. The key here, this type of attachment does a couple of things. . . it keeps it tight, is stronger than other techniques “and” is redundant.
Cross Them Poles
We know most of you already know this, but based on our observation, not everyone does and it is worth mentioning. Without crossing the poles (and securing that X), your sled will point in any direction at random and that soon gets old and a source of frustration. It is important to secure that “X” with a system that has some give. In other words, don’t “bolt” the poles together, use a velcro strap or a small bungee to do the trick.
Loading a Pulk
Similar to loading a backpack, there are best practices when loading a pulk. They are pretty simple really. Keep the weight low and to the back. This also means that longer sleds tend to work better because you can load more weight in the bottom.
Poorly packed sleds (like the example) will tip over easily and are more difficult to passively control.
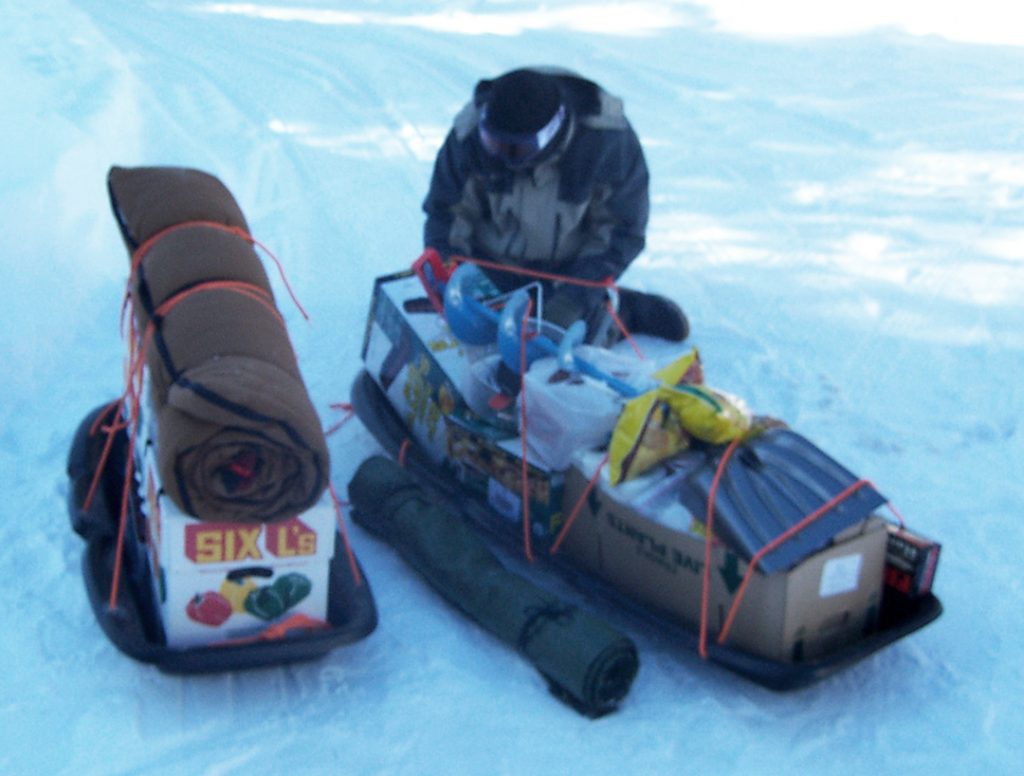
A pulk should be loaded with the heaviest items loaded on the bottom and to the rear. As you move forward, medium then light items. The lightest items should be on top, as illustrated below.
Protecting Gear
While sliding through the winter wonderland, snow will get in the sled. Snow fall will pile on the sled, snow will come over the sides, you’ll get snow on it and in it. There is also that “transitional weather”. Somewhere between winter and spring. Rain, sleet, wet snow. You’ll cross creeks, rivers, go under dripping trees. The point here. . . it would be a good idea to protect your gear. Here you have a few options.
The Bags – One option is to pack your gear in waterproof bags, strap em in and go. They offer a modular system that doesn’t get wet if properly packed an sealed. The downside is the cost – good waterproof bags can be expensive. Multiple bags can also be difficult to tie down and keep organized without a system.
The Tarp – Another option, and more common, is the tarp wrap. Sometimes, the technique is also called a burrito wrap or the cozie wrap.

Gear Recommendations


Securing Gear
Securing your gear is relatively easy. Techniques include cord, rope, bungees, ratchet straps and cargo nets. Each method has its advantages. Securing gear is important to prevent shifting of the gear and loss of gear.
One technique is to use a continuous length of cord or rope. It is best to create loops to tie into the existing holes (or holes you drill). Some use eye-bolts or carabiners to create the loops, however, rope loops are inexpensive, easy to install and won’t snag gear as it is moved about.
Two techniques for securing the loops are shown below. They provide an easy place to hook, tie or redirect the rope, cargo netting, bungee cords or ratchet straps. Thread the rope through the holes and use simple overhand loops on top of the hold. Rope will run under the sled lip to the next hole.

With the loops, then you can easily secure the load with a cross tie down.

A motorcycle/ATV cargo net offers an excellent way to secure pulk gear. You can place loose gear (Snow Shovel, Snow shoes or Skies) under the net without having to tie or untie any rope. Also, if a few attachment points need to be disconnected to access the load – you don’t need to thread and unthread 20′ of line to unload.
Further Modifications
Side hills, up hills, down hills. . . they all pose special problems for the pulk hauler. Side hills cause the back to slip, uphills are difficult and taking a break is hard. With downhills the pulk may try and overtake you. In the next section, we will discuss ways to manage and handle these difficulties.
Side Hills
When on a side hill, there are two common problems that are often encountered while pulling a pulk. Tipping and slipping. Side hills are hills or slopes that you “traverse”. Not only hills, but even “crowned” trail can cause slipping and tipping.
The first issue is the pulk tipping over. The best way to handle this is to properly load your sled as illustrated above. The other annoying issue is the sled will wander down the slope, especially the back end. To handle this, we can install fins. Fins work much like a skeg on a kayak or a keel on a sailboat to prevent wind cocking and sliding sideways in the water.
There are a variety of ways to install fins on a sled. Some create drag, are difficult to deploy or retract and others are just awkward. Even with these inefficiencies, the benefits of having the fins are outweighs the cons. The best option tends to be to install them on the sides with a design that is quick and easy to deploy or retract.


Uphill
Going up hill with a pulk can be difficult. Even if you want to take a break from slogging up the hill, you will still have to hold the weight of the pulk unless you figure out a way for the loaded sled to hold itself on the slope.
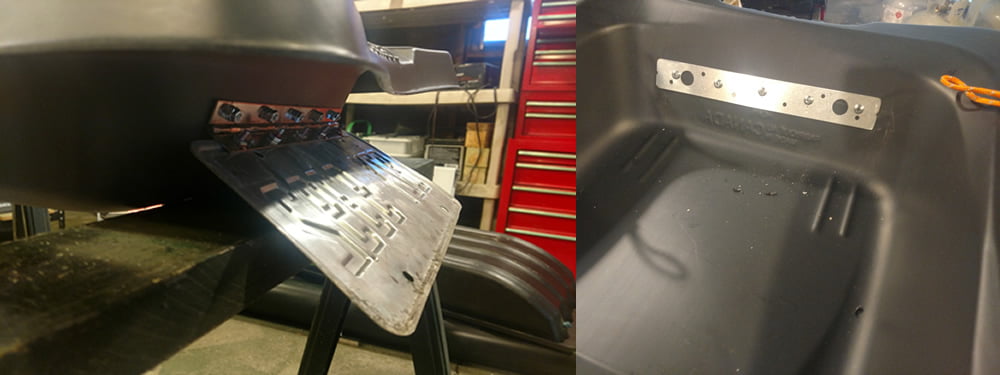
This is where a “flap break” comes in handy. A flap break is a flap installed on the back of the pulk. Under normal travel it gently drags behind the sled. As soon as you stop your forward progress and the sled starts to move backward, the flap catches in the snow, and eventually binds against the sled causing it to stop sliding backward.

When constructing the brake, use a piano hinge and don’t forget to put a plate on the other side of the attachment point to strengthen the plastic. Sometimes the piano hinge won’t move easily and will get stuck in one position. Use some 3 in 1 Oil to loosen the hinge.
An old license plate can even work. It has a good balance of weight, strength and size to do the trick.
Downhill
Moving downhill with your pulk can get kind of exciting, especially on skies. The weight of a pulk poses a significant challenge when going down steep slopes. Doing downhill can cause trouble with handling, control and safety.
To solve this issue, we will take a cue from mountain rescue teams. Rescue sleds are designed with brakes for downhill travel using a chain mechanism like the sled in the picture.

For more versatile purposes, a less substantial brake can be implemented. For instance, using a plastic chain. You can attach a deployment line from you harness or from a haul pole.
When not in use, the chain and line can be stowed in the sled. To prevent tangling, daisy chain the line occasionally running a loop through the plastic chain.

A chain brake works by dragging under the sled. You can deploy a little chain for a little drag or fully deploy the chain. The process works well on steep down hills.
With these few techniques a gear sled can be transformed into a more useful tool. It can improve safety and make wilderness travel more enjoyable.
See also: How to make a Pulk on the Cheap